Wood Floor Sanding Maintenance Tips to Extend Floor Life
If your Brockley home is blessed with original timber boards, you already own a slice of design history. Time, however, can leave pine, oak or maple looking worn, scratched and lifeless. The good news? With the right knowledge, patience and tools, Wood Floor Sanding can restore that hidden beauty, adding value, light and character to any room. This beginner‑friendly guide walks you through the entire process—from assessing your boards to the final coat of sealant—so you can tackle the job like a pro, avoid common pitfalls and enjoy floors that gleam for decades.

Why sand your Brockley boards at all?
- Revive natural colour and pattern. Years of dirt and varnish obscure the timber’s true tones and grain. A fresh sand reveals them once more.
- Create a healthier environment. Older finishes may harbour dust, allergens or even lead. Removing and resealing keeps indoor air cleaner.
- Extend the life of the floor. Small dents and scratches that trap moisture can grow into larger defects. Sanding smooths them out before they cause lasting damage.
- Add market value. Estate agents consistently report higher sale prices for period homes with well‑maintained wooden flooring versus carpets.
- Improve light flow. Polished timber reflects more natural light, making compact Brockley terraces feel larger and brighter.

Know your timber before you touch a sander
Every species reacts differently to abrasion and finish. Identifying yours informs grit sequence and sealing choices.
| Timber | Typical Age in Brockley | Hardness | Sanding Caution |
|---|---|---|---|
| Victorian pine | 100–140 yrs | Soft | Avoid coarse grits below 40 to prevent grooves |
| Pitch pine | 90–130 yrs | Medium | Resin pockets can gum discs—keep extras handy |
| Oak strip | 50–90 yrs | Hard | Requires extra passes with fine grit to remove drum marks |
| Maple | 30–70 yrs | Very hard | Move slowly; heat build‑up can scorch pale boards |
A quick scratch test with a coin and a dab of water (to spot colour shift) usually reveals the species.
Tools & materials checklist
Save yourself multiple hire‑shop runs by getting everything in one trip:
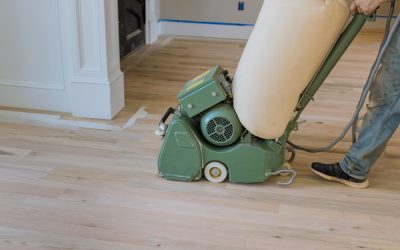
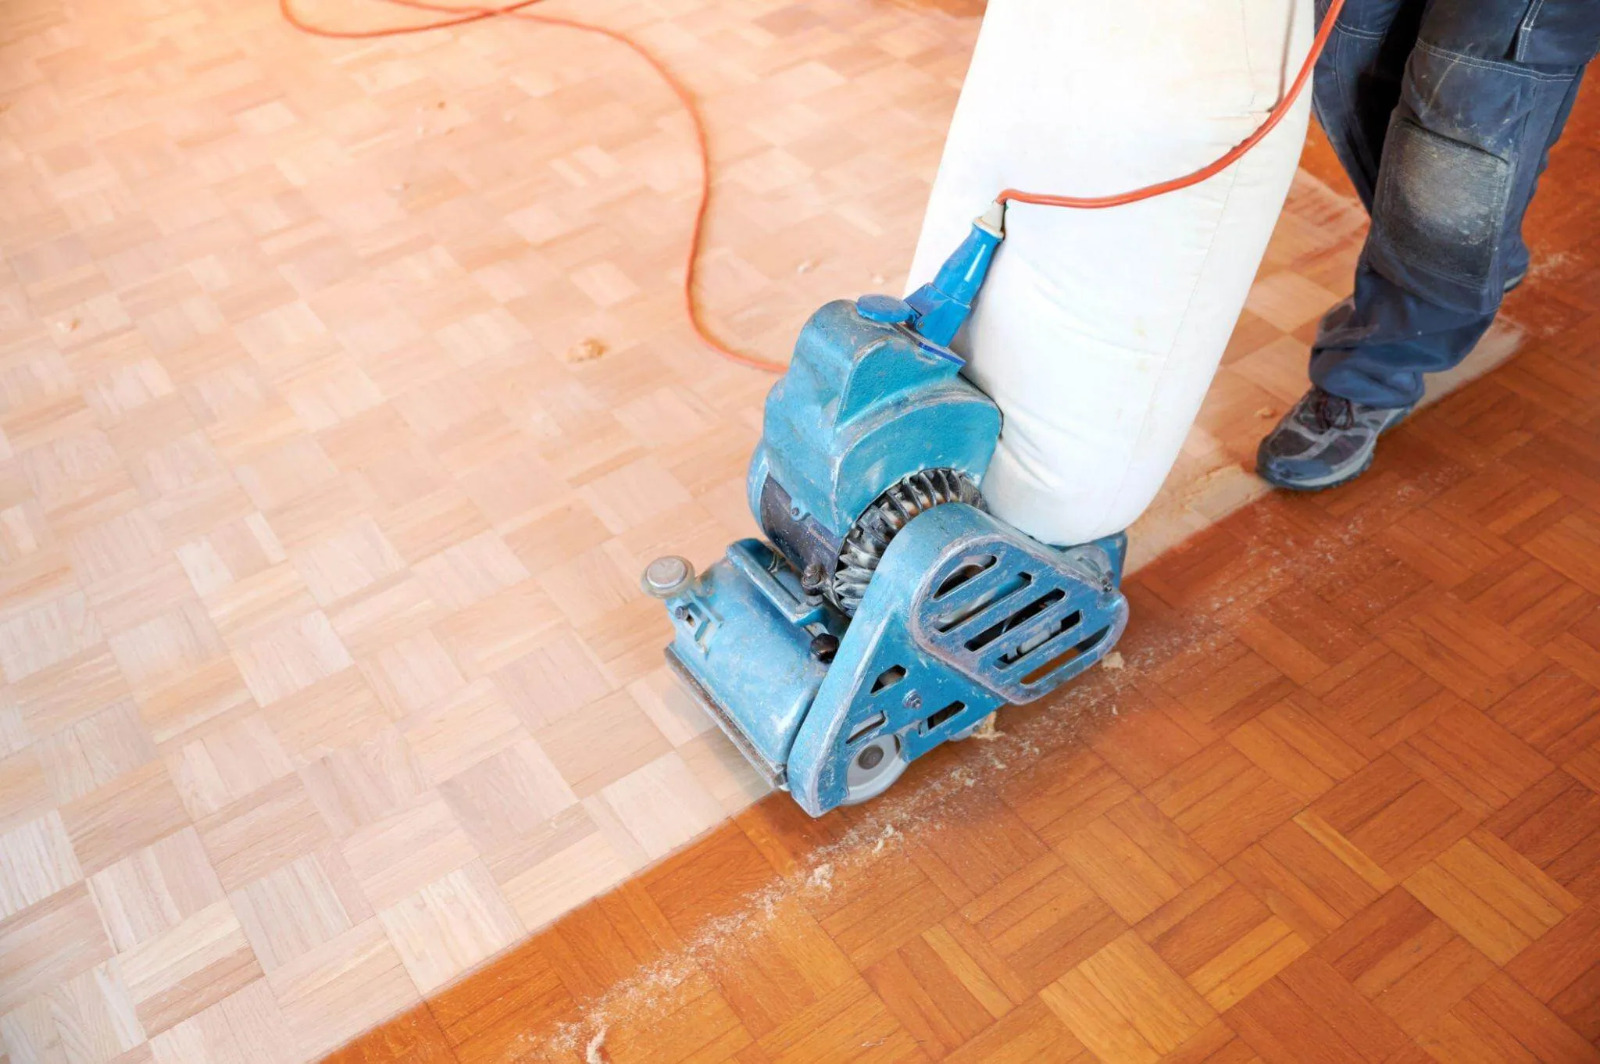
- Drum or belt sander with disposable 40, 60, 80 and 120‑grit belts
- Edger sander plus 60, 80 and 120‑grit discs for skirts and corners
- Corner detail sander or multi‑tool with sanding pad
- Industrial‑grade vacuum (HEPA filter preferred)
- Protective kit—FFP2 mask, ear defenders, knee pads, safety glasses
- Wood filler or fine sawdust mixed with clear resin for gaps
- Tack cloths and lint‑free microfibre rollers
- Floor sealant: hardwax oil for warm satin; water‑based lacquer for crisp matt
- Painter’s tape, plastic sheeting, door seals to confine dust

Preparation – success starts before the sander
- Clear the room completely—electronics, curtains, even light shades. Fine dust infiltrates everything.
- Inspect fixings. Countersink protruding nails at least 2 mm below the surface; a glancing nail head tears sanding belts instantly.
- Repair damaged boards. Replace split planks, reinforce bouncy joists and fill large knot holes with wood slivers.
- Vacuum then wash. A damp (not wet) microfibre mop lifts lingering dust so belts cut cleanly.
- Mask adjacent rooms. Plastic taped round doorframes plus window‑fan extraction prevents the rest of the house from resembling a building site.

The step‑by‑step sanding journey
For even, ripple‑free results follow a logical grit progression, moving diagonally first, then with the grain.
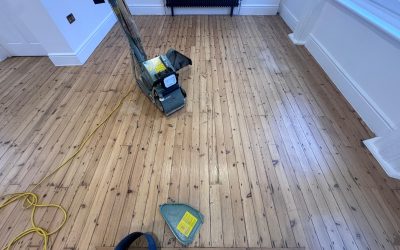
- Rough cut (40‑grit). Start at one corner, move slowly with the plank direction at a 7–10° angle. Lift the drum before changing direction to avoid gouges.
- Edge cut (60‑grit). Work the room perimeter with the edger, overlapping 10 cm into the drum path for a seamless blend.
- Medium cut (60‑grit). Now sand directly along the grain. Each pass hoovers up cross‑grain scratches.
- Gap filling. Mix sawdust from your 80‑grit collection with clear resin; force into joints, leave 30 min to set.
- Fine cut (80 then 120‑grit). Two calm, steady passes erase swirl marks.
- Final vacuum & tack‑off. Any speck left on the boards becomes a hardened lump under sealant—take your time here.
Nail each stage and Wood Floor Sanding beautifully levels the entire surface without wave patterns or chatter lines.
Choosing the perfect finish
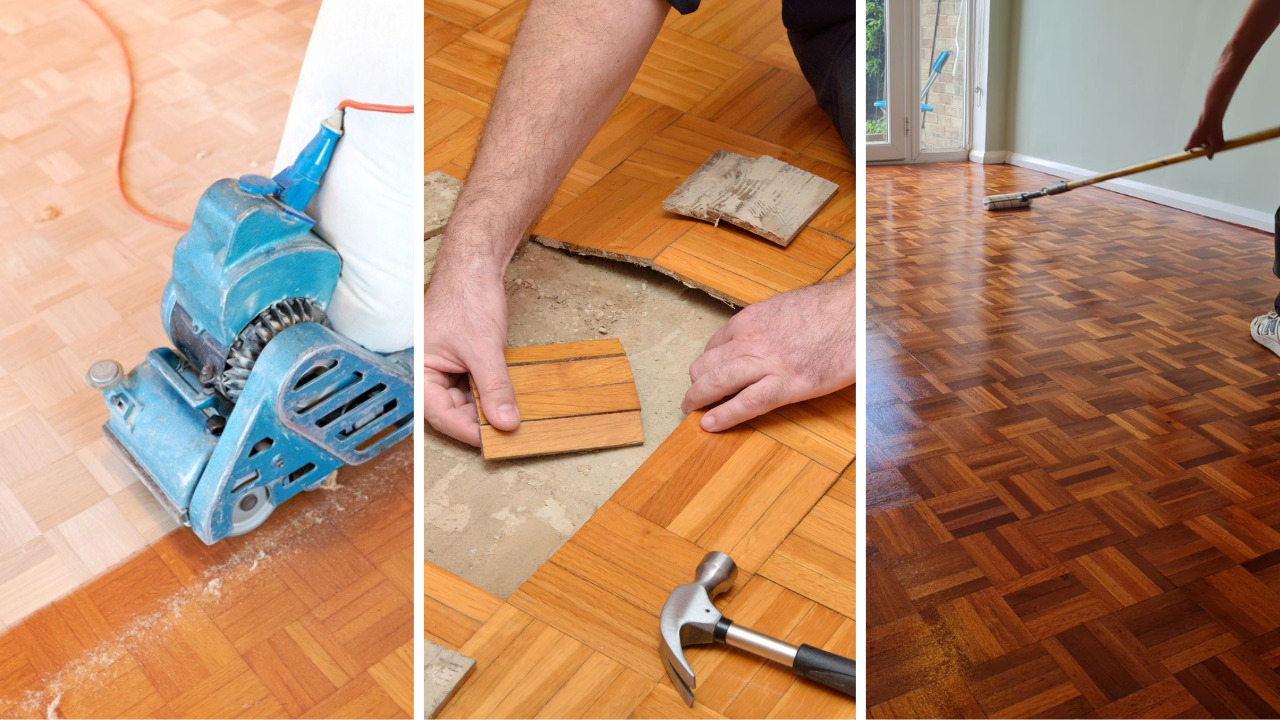
- Hardwax oils seep into fibres, enhancing colour and leaving a natural, repairable sheen. Ideal for family homes and heritage looks.
- Water‑based lacquers sit on top of the grain, giving a contemporary feel and excellent scratch resistance. They’re virtually odour‑free and dry fast—handy for tight renovation schedules.
- Penetrating oils (tung, Danish) offer deep warmth but need regular top‑ups.
Tip: Always test on an off‑cut or hidden board; Brockley sunlight can shift undertones dramatically compared to showroom samples.

After‑care & routine maintenance
Treat your rejuvenated boards well and Wood Floor Sanding becomes a once‑in‑a‑generation task.
- Add felt pads under every piece of furniture and renew them annually.
- Sweep or vacuum with a soft‑bristle head twice a week to prevent grit scoring.
- Mop monthly with pH‑neutral cleaner—avoid bleach and steam‑mops that force moisture into joints.
- Refresh traffic lanes (hallways, kitchens) with a maintenance oil or refresher lacquer every 18–24 months before wear cuts into the colour coat.

Seven rookie mistakes (and how to dodge them)
- Skipping grits. Jumping straight from 40 to 120 leaves deep grooves that telegraph through clear finishes.
- Rushing the edges. Work them as carefully as the field boards or your eye will spot the halo immediately.
- Dragging the drum on start‑up. Always lift the handle so the drum is off the floor until full speed is reached.
- Using domestic vacuums. Standard models exhaust fine dust straight back into the room, dulling the finish.
- Over‑watering filler mix. It shrinks and falls out within weeks.
- Coating a dusty surface. One rogue hair can ruin an entire living‑room—tack cloth religiously.
- Choosing the wrong sealant sheen. Ultra‑gloss on rustic pine disguises nothing; matt on dark merbau can look muddy. Learn from others’ errors and your Wood Floor Sanding project will shine first time.
DIY vs professional help – weighing up costs, time & results
Hiring a contractor is more expensive up‑front but may save money long‑term if you’re renovating to sell or lack weekends to spare. Tradespeople bring industrial dust‑extraction units, experience with tricky thresholds and insurance in case anything goes wrong. Confident DIYers, meanwhile, keep labour costs down and gain bragging rights. Ask yourself: do you value learning new skills over swift completion? If the answer is yes—and you relish hands‑on projects—Wood Floor Sanding can be immensely satisfying. If deadlines loom, professional support might be wiser.
Sustainability & dust control in Brockley homes
Eco‑aware residents increasingly demand greener refurbishments. Opt for:
- Low‑VOC, water‑borne finishes to reduce indoor pollutants.
- Reusable dust‑containment sheeting instead of single‑use plastic.
- Local timber replacements (reclaimed Victorian pine) to cut transport emissions.
- Efficient sander models with sealed, HEPA‑rated extractors that capture 99.97 % of particles down to 0.3 µm.
Healthier for you, your pets and the planet.
Conclusion:
Beautiful, durable wooden flooring isn’t reserved for master carpenters; armed with research, patience and the guidance above, Brockley homeowners can achieve professional results on a DIY budget. Follow each stage methodically, respect the timber’s quirks and let quality products do the heavy lifting. When you’re ready to begin—or if you decide you’d rather leave the heavy machinery to seasoned specialists—visit Wood Floor Sanding for expert advice, quotes and after‑care support. Freshly revitalised boards await; start planning your project today and watch your interiors transform from tired to timeless.